When downloading textures online or taking photos of surfaces like brick, concrete, or wood, you usually only get the raw color image—often referred to as an Albedo map or Diffuse map. In modern PBR (Physically Based Rendering) engines, placing just a color image onto a 3D model looks flat and lifeless.
To get realistic lighting, shadows, and physical depth on your 3D objects, you need to Convert your Albedo to a Normal Map instantly and easily directly in your browser.
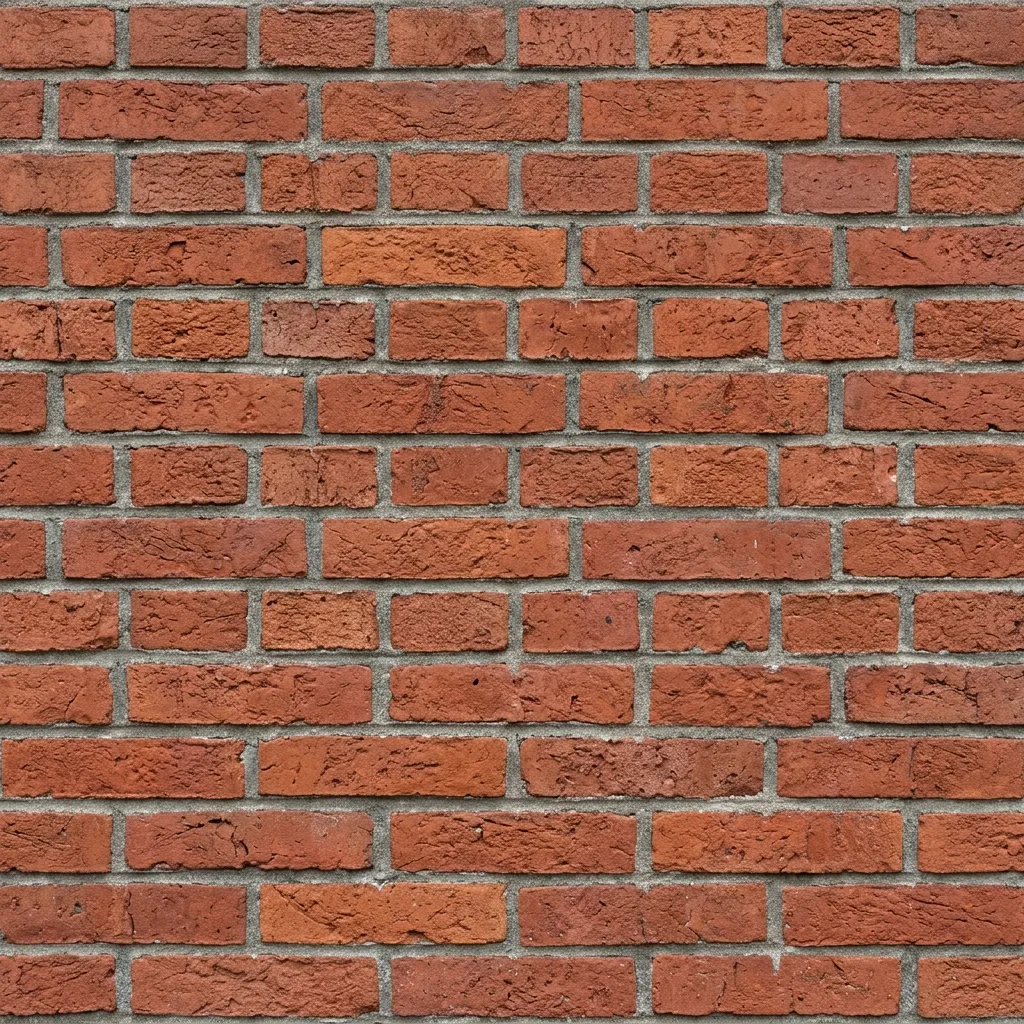
A standard top-down photograph of a red brick wall (Diffuse/Albedo).
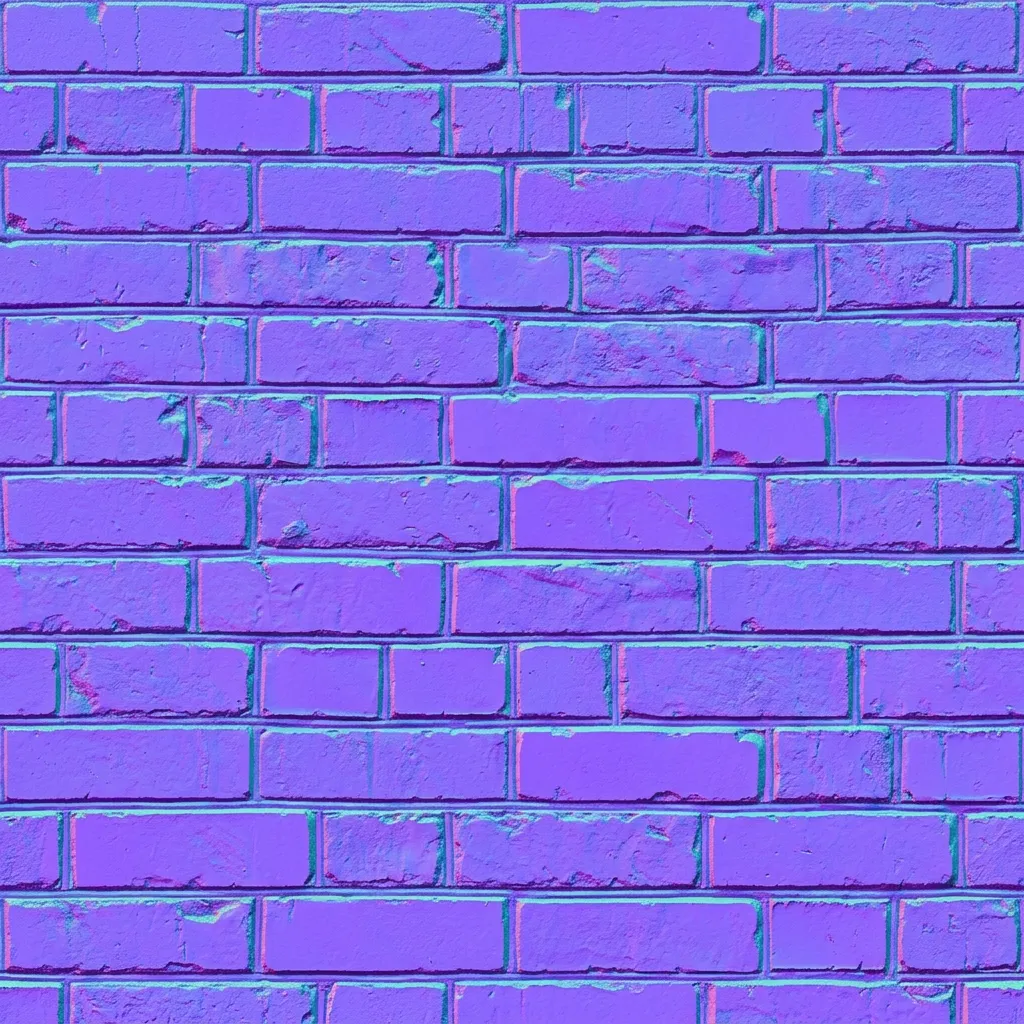
Comparison: A plain diffuse texture (left) compared to a full material setup with a generated Normal map responding dynamically to a light source (right).
Looking for a more general guide? If you want to understand the complete process of converting photos rather than specifically focusing on albedos, check out our cornerstone guide: How to Create Normal Maps from Photos Online.
Why You Shouldn’t Create Normal Maps by Hand
Before online generators existed, 3D artists would manually paint light and dark values in Photoshop or sculpt millions of polygons in ZBrush just to bake a single normal map. This took hours.
Today, using a normal map generator, you can analyze the high-frequency color variations and structural lines of a standard photo to automatically output the exact purple/blue (RGB = XYZ) vector angles needed for game engines.
Step-by-Step Guide to the Free Normal Map Generator
Step 1: Upload Your Diffuse/Albedo Map
Open our Free Normal Map Generator (Normalmap.ai) and drag your Albedo image (JPG, PNG, WebP) onto the interface. The engine immediately calculates height data based on the brightness and contrast of your color map.
Step 2: Adjust Normal Strength and Blur
Every texture requires slightly different settings to look right:
- Strength (Intensity): Controls how deep or protruding the bumps appear. Increase it for rocky surfaces, but keep it low for subtle things like smooth plastic or sanded wood.
- Blur / Sharpness: If your original diffuse image is very grainy (like a smartphone photo taken in the dark), the generated normal map will also be very noisy. Increase the Blur slightly to smooth out these micro-details and keep only the large, structural shapes.
Step 3: Check Lighting in the 3D Viewport
Always test your material. Inside the tool’s 3D viewer:
- Click and drag the model to rotate it.
- Change the shape from a Cube to a Sphere or Plane.
- Move the Light Source to see how shadows cast across the bumps of your newly created normal map. If the deep cracks on your texture look like they are bubbling outwards instead of digging inwards, click the Invert / Flip Y button.
Step 4: Extract Additional PBR Textures
Since you have your diffuse image loaded, use the tool to also generate:
- Roughness / Specular Map: To tell the 3D engine which parts of your texture reflect light and which remain dull.
- Ambient Occlusion (AO): To add deep micro-shadows inside the cracks and crevices of your geometry.
Step 5: Download and Use in Your Engine
Click Download Missing Maps to grab your normal map. It is completely ready to be plugged into the Normal/Bump slot of a shader node in Unity, Unreal Engine 5, Godot, or Blender.